Yesterday, 28th April 2020, the Scottish government announced they had decided to recommend the wearing of face coverings in a bid to limit the spread of the Covid-19 corona virus. The idea is that they limit the chances of someone who may be infectious from spreading the virus to other people, rather than as a way of avoiding catching the infection.
So I did a trawl of the internet looking at patterns and instructions for making such things. They ranged from okay, but with limited detail to totally hopeless. I fixed on one style that to me looked neatest and most effective and set about figuring out how to make it so that it fits my face. I have a small face (despite people thinking I am rather "big-headed!) and it was obvious that the dimensions given were not appropriate for me. If the mask isn't a good fit, it's no use to man nor beast!
Here is my method, starting with how to take your own measurements so you can make them to fit you.
Step 1 - Measure your face. Hold one end of the tape measure at the point where the top of your ear joins onto your face, take it across the bridge of your nose to the corresponding point on the other ear. This is measurement A. Next, hold the end of the tape measure on the bridge of your nose and bring it down under your chin to the top of your neck. Multiply this measurement by 2 - this will be measurement B.
Step 2 - Choose your fabric. It should be something closely woven and able to be washed at a temperature of 60°C. Cotton is ideal. You need a rectangular piece, A wide x B long. You will also need two small rectangles that are about 10cm by 6cm but they can be in a contrasting fabric. Knitted fabrics such as T-shirt fabric may be comfortable, but when they are stretched there will be holes that allow droplets to pass through so are not suitable.
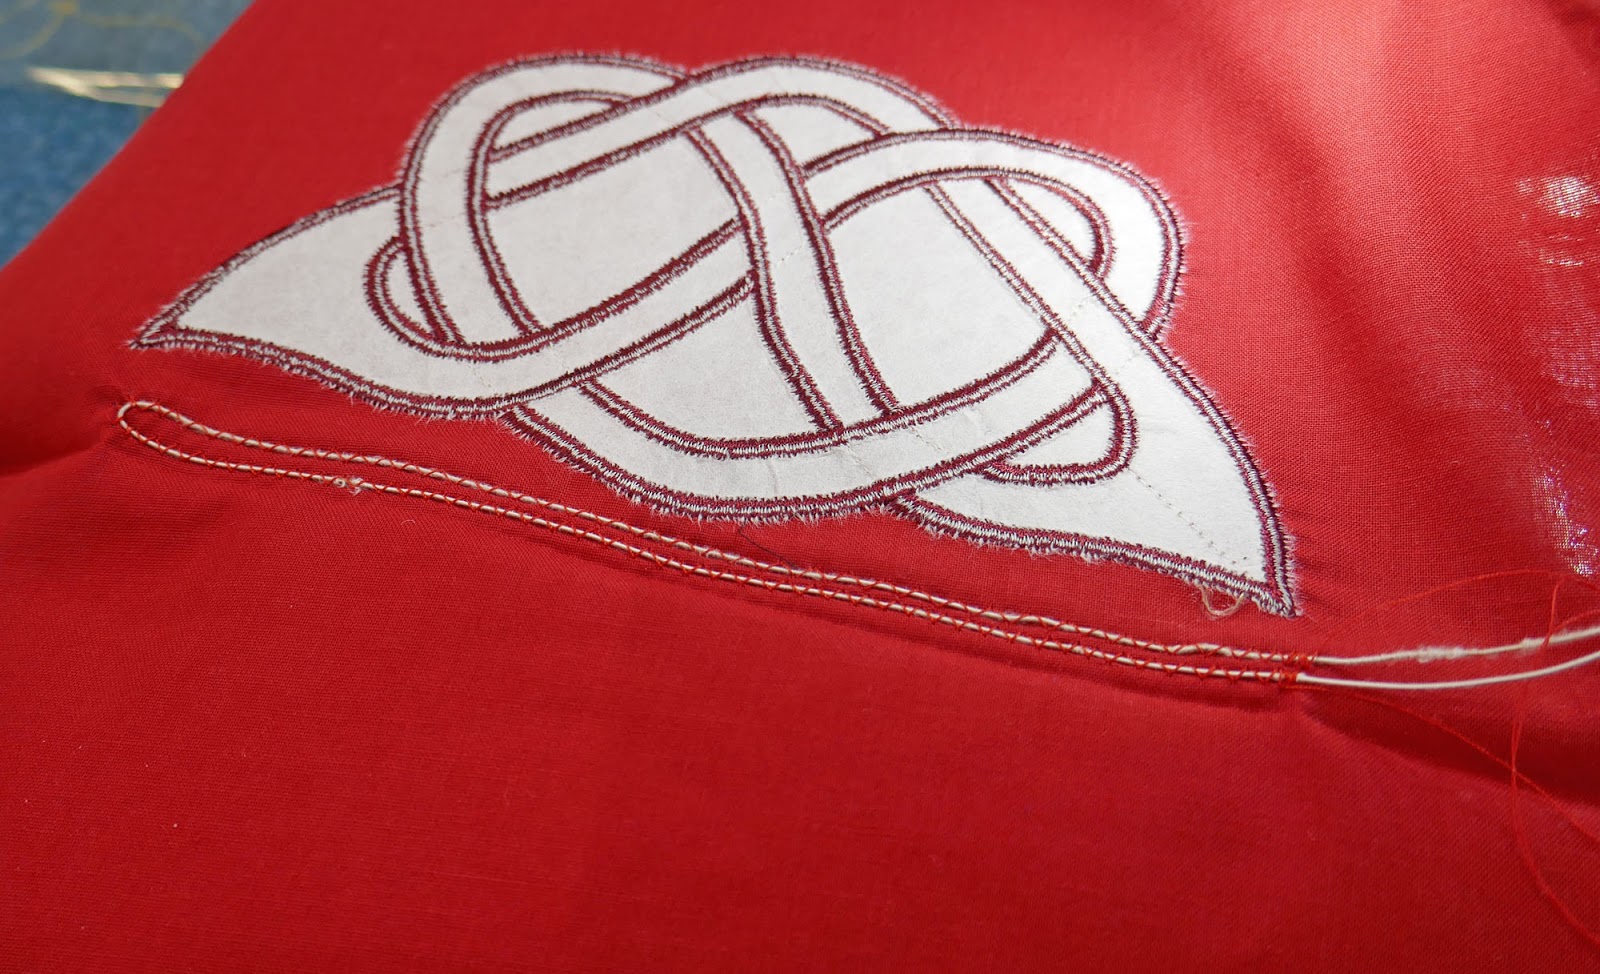
Step 3 - If you want any decoration - fabric paints, embroidery, tie-dyeing, now is the time to do it - only one half of the fabric needs to be decorated. I did some appliqué on mine which will help you to see which is the right side of the fabric.

Step 4 - Fold fabric in half, right sides outwards and press a crease firmly in place. Then open out again.

Step 5 - Using the centre crease as a guide, and working on the wrong side of the fabric, use a zig-zag stitch on the sewing machine to stitch over a piece of coated wire (e.g. fine plastic coated garden wire). Start about 6cm in from one edge, stitch to the same distance from the other edge, then with the needle still in the fabric, turn the fabric around and come back to make another line of wire just next to the first line. Slightly gather up the fabric by pulling on the two ends of the wire. Snip the ends of the wire (using wire cutters, NOT scissors!) about 15mm from the start of the stitching and tightly fold the ends back along the stitched wire. The point of this step is that it allows you to shape the top of the mask across the bridge of your nose ensuring a close fit.


Step 6 - Make two small darts on each end of the fabric - these should be about 5cm in length and about a third of the way in from the edges - in position shown by the black line. Press darts flat.

Step 7 - With right sides together, sew the two darted edges together. Turn the resulting tube right side out and press the seam flat.

Step 8 - Make 3 or 4 soft pleats at each side, pinning them in place. Try and space them evenly and make sure they are going in the same direction at each side. Stand in front of a mirror and hold the mask against your face to see how it fits. This is the point at which you may need to make adjustments - for example, by adjusting the pleats, or cutting away some fabric at the sides.

Step 9 - When you are happy with the fit, stitch over the pleats to hold in place. Then attach a piece of elastic at the top edge of each side - this should lie inwards towards the centre of the mask.

Step 10 - Trying the mask on again, take the elastic over the top of your ears and round to the bottom edge of the mask and adjust it till you get a good fit, pinning in place. If at this stage you have the foresight to measure the length of the elastic, you will be able to cut it to the right length each time. Stitch the elastic in place.
Step 11 - Trim the raw edges to about 7 or 8mm and use the small rectangles of fabric to make neat bindings, top stitching to hold them in place.


Step 12 - Wear your mask whenever you are in busy places or confined public spaces. And remember, it is to protect others. And wash it at 60°C, and/or steam press for several minutes after each use. When you take the mask on and off be careful not to touch your face, and remember to wash you hands.

P.S. I have a special foot for my embroidery machine which has a small guide hole making it very easy to accurately zig-zag over a wire or cord. If you don't have one of these, see if any of your feet have grooves that might guide the wire - otherwise, just be careful when you stitch the wire. (Bernina, foot number 6).

So I did a trawl of the internet looking at patterns and instructions for making such things. They ranged from okay, but with limited detail to totally hopeless. I fixed on one style that to me looked neatest and most effective and set about figuring out how to make it so that it fits my face. I have a small face (despite people thinking I am rather "big-headed!) and it was obvious that the dimensions given were not appropriate for me. If the mask isn't a good fit, it's no use to man nor beast!
Here is my method, starting with how to take your own measurements so you can make them to fit you.
Step 1 - Measure your face. Hold one end of the tape measure at the point where the top of your ear joins onto your face, take it across the bridge of your nose to the corresponding point on the other ear. This is measurement A. Next, hold the end of the tape measure on the bridge of your nose and bring it down under your chin to the top of your neck. Multiply this measurement by 2 - this will be measurement B.
Step 2 - Choose your fabric. It should be something closely woven and able to be washed at a temperature of 60°C. Cotton is ideal. You need a rectangular piece, A wide x B long. You will also need two small rectangles that are about 10cm by 6cm but they can be in a contrasting fabric. Knitted fabrics such as T-shirt fabric may be comfortable, but when they are stretched there will be holes that allow droplets to pass through so are not suitable.
Step 3 - If you want any decoration - fabric paints, embroidery, tie-dyeing, now is the time to do it - only one half of the fabric needs to be decorated. I did some appliqué on mine which will help you to see which is the right side of the fabric.

Step 4 - Fold fabric in half, right sides outwards and press a crease firmly in place. Then open out again.

Step 5 - Using the centre crease as a guide, and working on the wrong side of the fabric, use a zig-zag stitch on the sewing machine to stitch over a piece of coated wire (e.g. fine plastic coated garden wire). Start about 6cm in from one edge, stitch to the same distance from the other edge, then with the needle still in the fabric, turn the fabric around and come back to make another line of wire just next to the first line. Slightly gather up the fabric by pulling on the two ends of the wire. Snip the ends of the wire (using wire cutters, NOT scissors!) about 15mm from the start of the stitching and tightly fold the ends back along the stitched wire. The point of this step is that it allows you to shape the top of the mask across the bridge of your nose ensuring a close fit.


Step 6 - Make two small darts on each end of the fabric - these should be about 5cm in length and about a third of the way in from the edges - in position shown by the black line. Press darts flat.

Step 7 - With right sides together, sew the two darted edges together. Turn the resulting tube right side out and press the seam flat.

Step 8 - Make 3 or 4 soft pleats at each side, pinning them in place. Try and space them evenly and make sure they are going in the same direction at each side. Stand in front of a mirror and hold the mask against your face to see how it fits. This is the point at which you may need to make adjustments - for example, by adjusting the pleats, or cutting away some fabric at the sides.

Step 9 - When you are happy with the fit, stitch over the pleats to hold in place. Then attach a piece of elastic at the top edge of each side - this should lie inwards towards the centre of the mask.

Step 10 - Trying the mask on again, take the elastic over the top of your ears and round to the bottom edge of the mask and adjust it till you get a good fit, pinning in place. If at this stage you have the foresight to measure the length of the elastic, you will be able to cut it to the right length each time. Stitch the elastic in place.
Step 11 - Trim the raw edges to about 7 or 8mm and use the small rectangles of fabric to make neat bindings, top stitching to hold them in place.


Step 12 - Wear your mask whenever you are in busy places or confined public spaces. And remember, it is to protect others. And wash it at 60°C, and/or steam press for several minutes after each use. When you take the mask on and off be careful not to touch your face, and remember to wash you hands.

P.S. I have a special foot for my embroidery machine which has a small guide hole making it very easy to accurately zig-zag over a wire or cord. If you don't have one of these, see if any of your feet have grooves that might guide the wire - otherwise, just be careful when you stitch the wire. (Bernina, foot number 6).

Comments
Post a Comment